Avaya Cloud Office Integration
Set up Avaya Cloud Office Integration
Avaya Cloud Office cloud phone service harnesses the power of internet to form a suite of business communication features on a cloud-based phone system. You can manage calls, host audio and video conferences, setup call routing and more - from any device. Once you integrate Avaya Cloud Office with Zoho PhoneBridge, you can do the following.
- When you receive an incoming call from or initiate an outgoing call to a CRM contact via Avaya Cloud Office, you can see a business card view of the contact in Zoho PhoneBridge.
- All calls made or received via Avaya Cloud Office are automatically logged in Zoho PhoneBridge and you can view the call logs.
- You can add follow-up activities at the end of every call from Zoho PhoneBridge.
Note
- For this integration to work, you must have a Avaya Cloud Office account.
- You must also have the Avaya Cloud Office softphone installed in your device.
- Only an Administrator of a Zoho PhoneBridge account can enable the Avaya Cloud Office Integration.
- Once enabled by the Administrator, the integration is activated for all users. Every user in the Zoho PhoneBridge Organization account can log in to Avaya Cloud Office with their unique credentials.
To configure Avaya Cloud Office in Zoho PhoneBridge, you must
- Enable Avaya Cloud Office integration
- Log in to your Avaya Cloud Office account in Zoho PhoneBridge
Enable Avaya Cloud Office Integration
To enable Avaya Cloud Office Integration
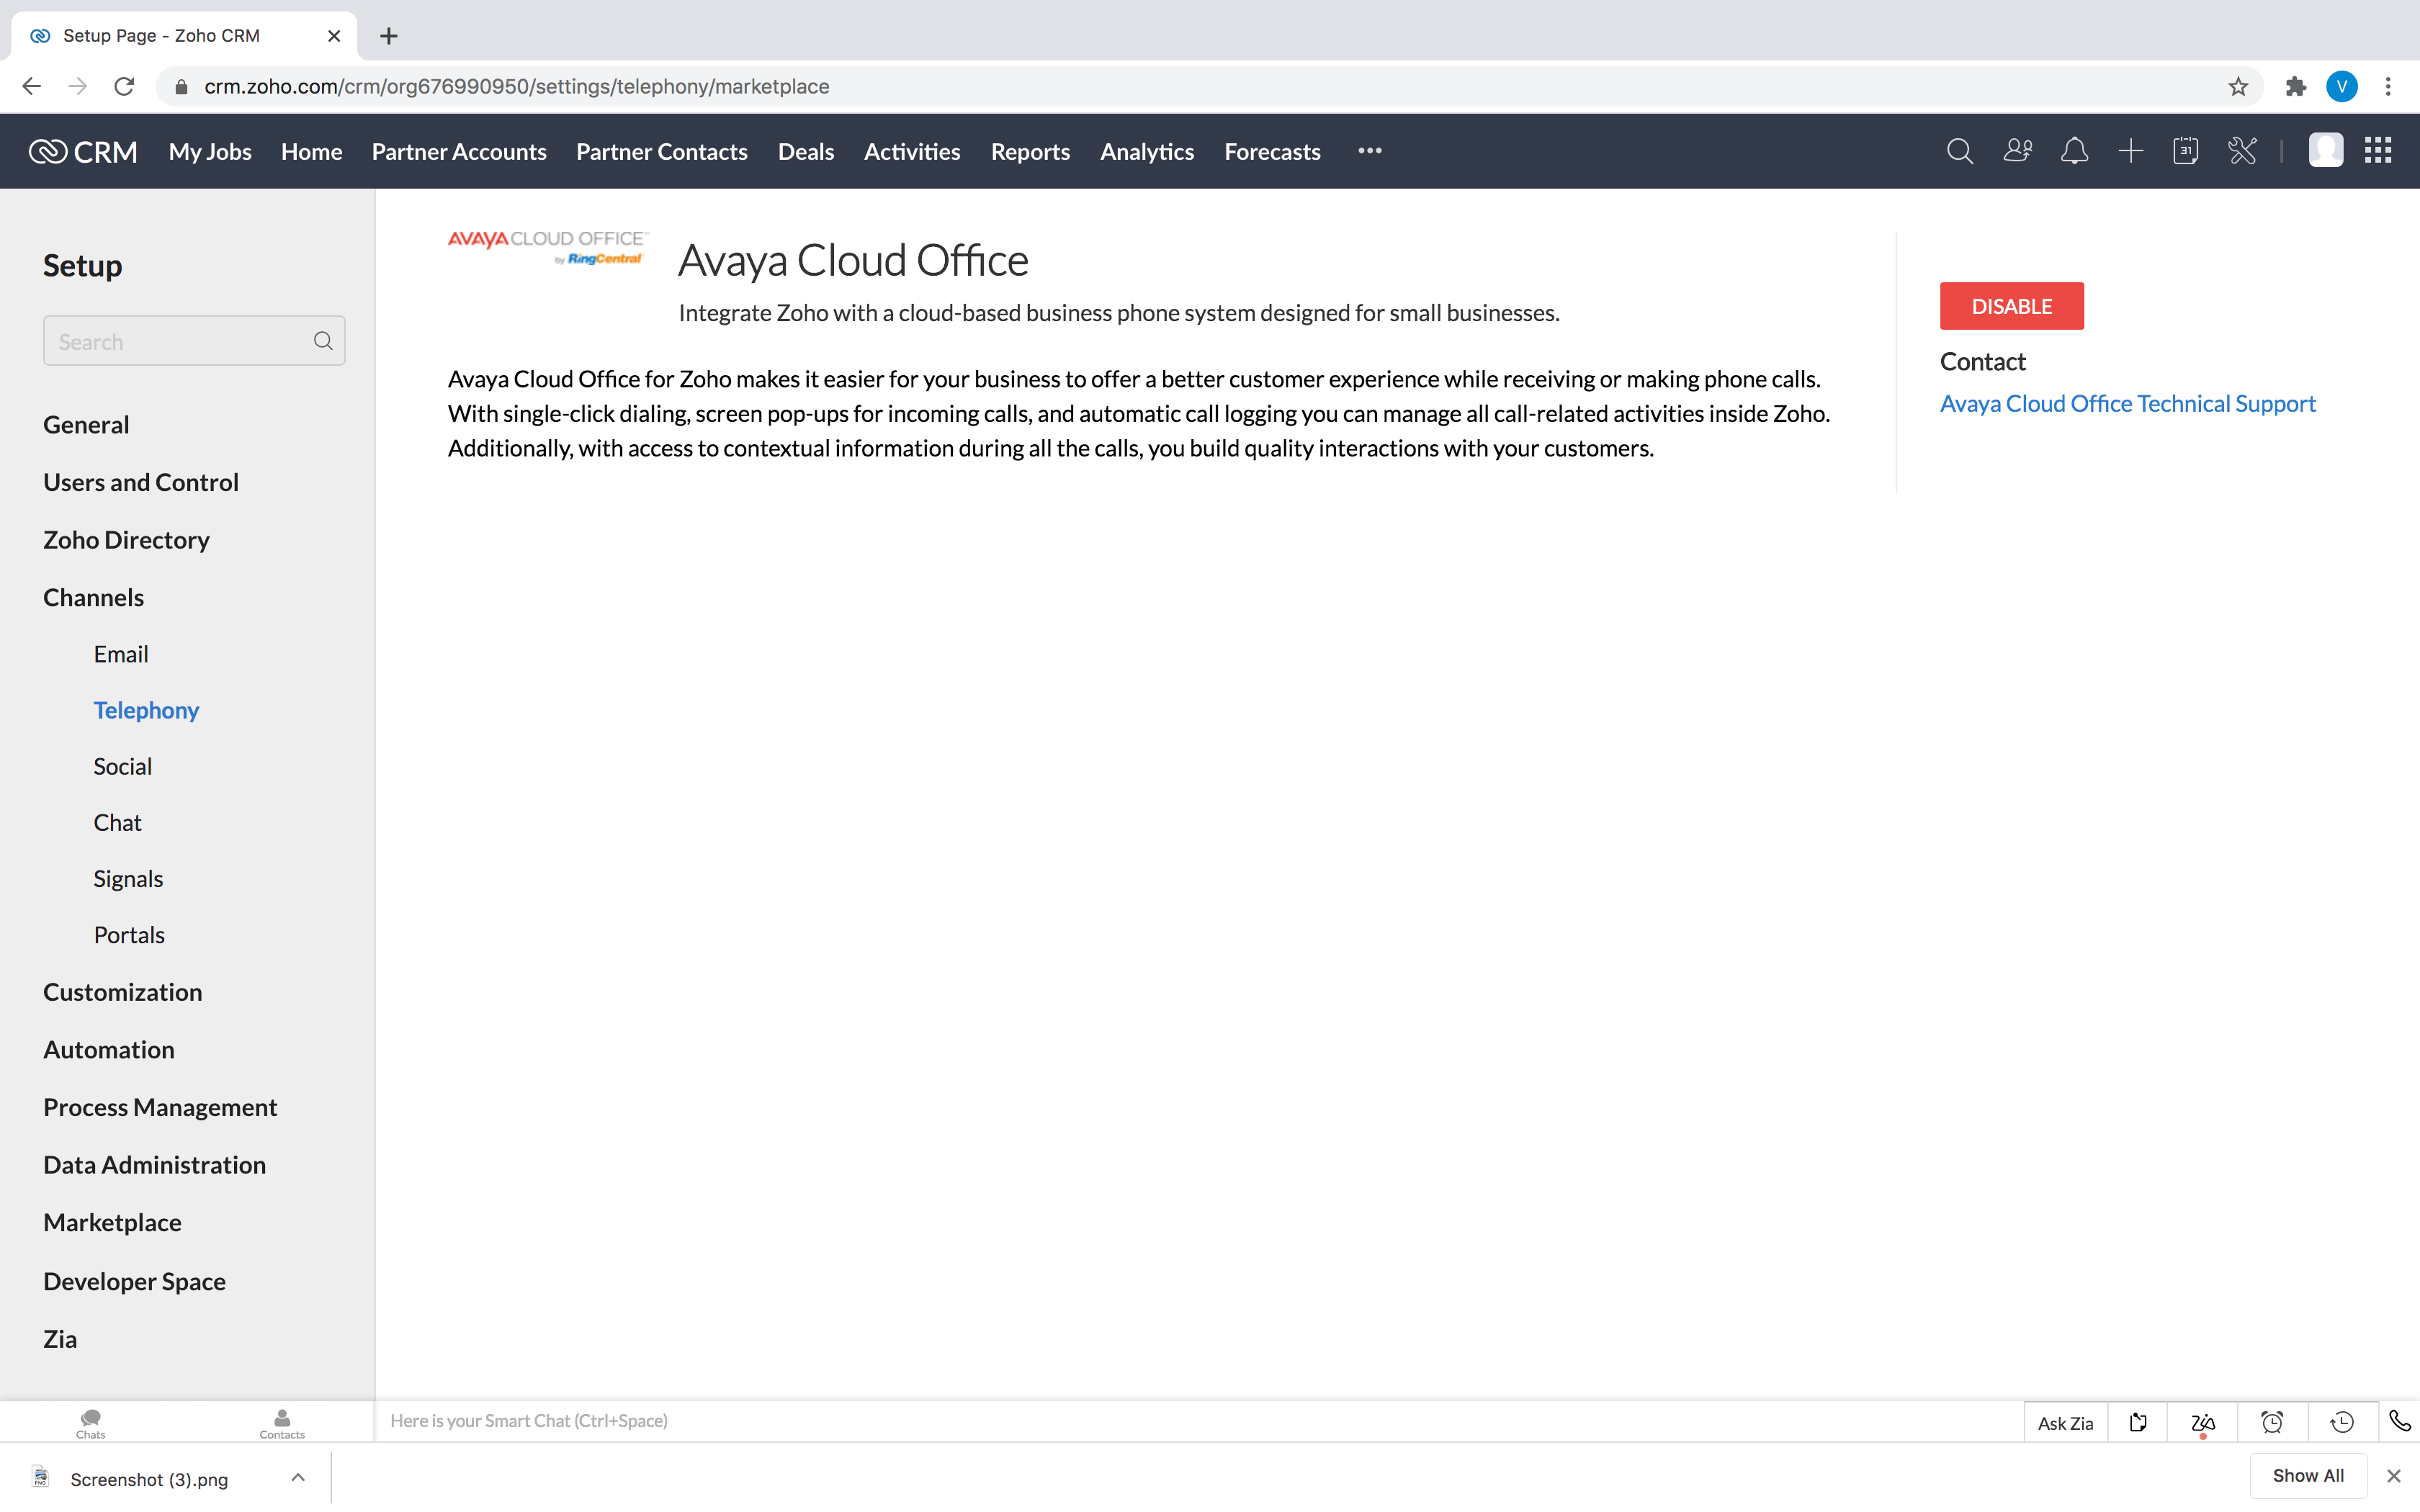
- Go to Setup > Channels > Telephony.
- Select Avaya Cloud Office from the Choose a telephony provider drop-down list.
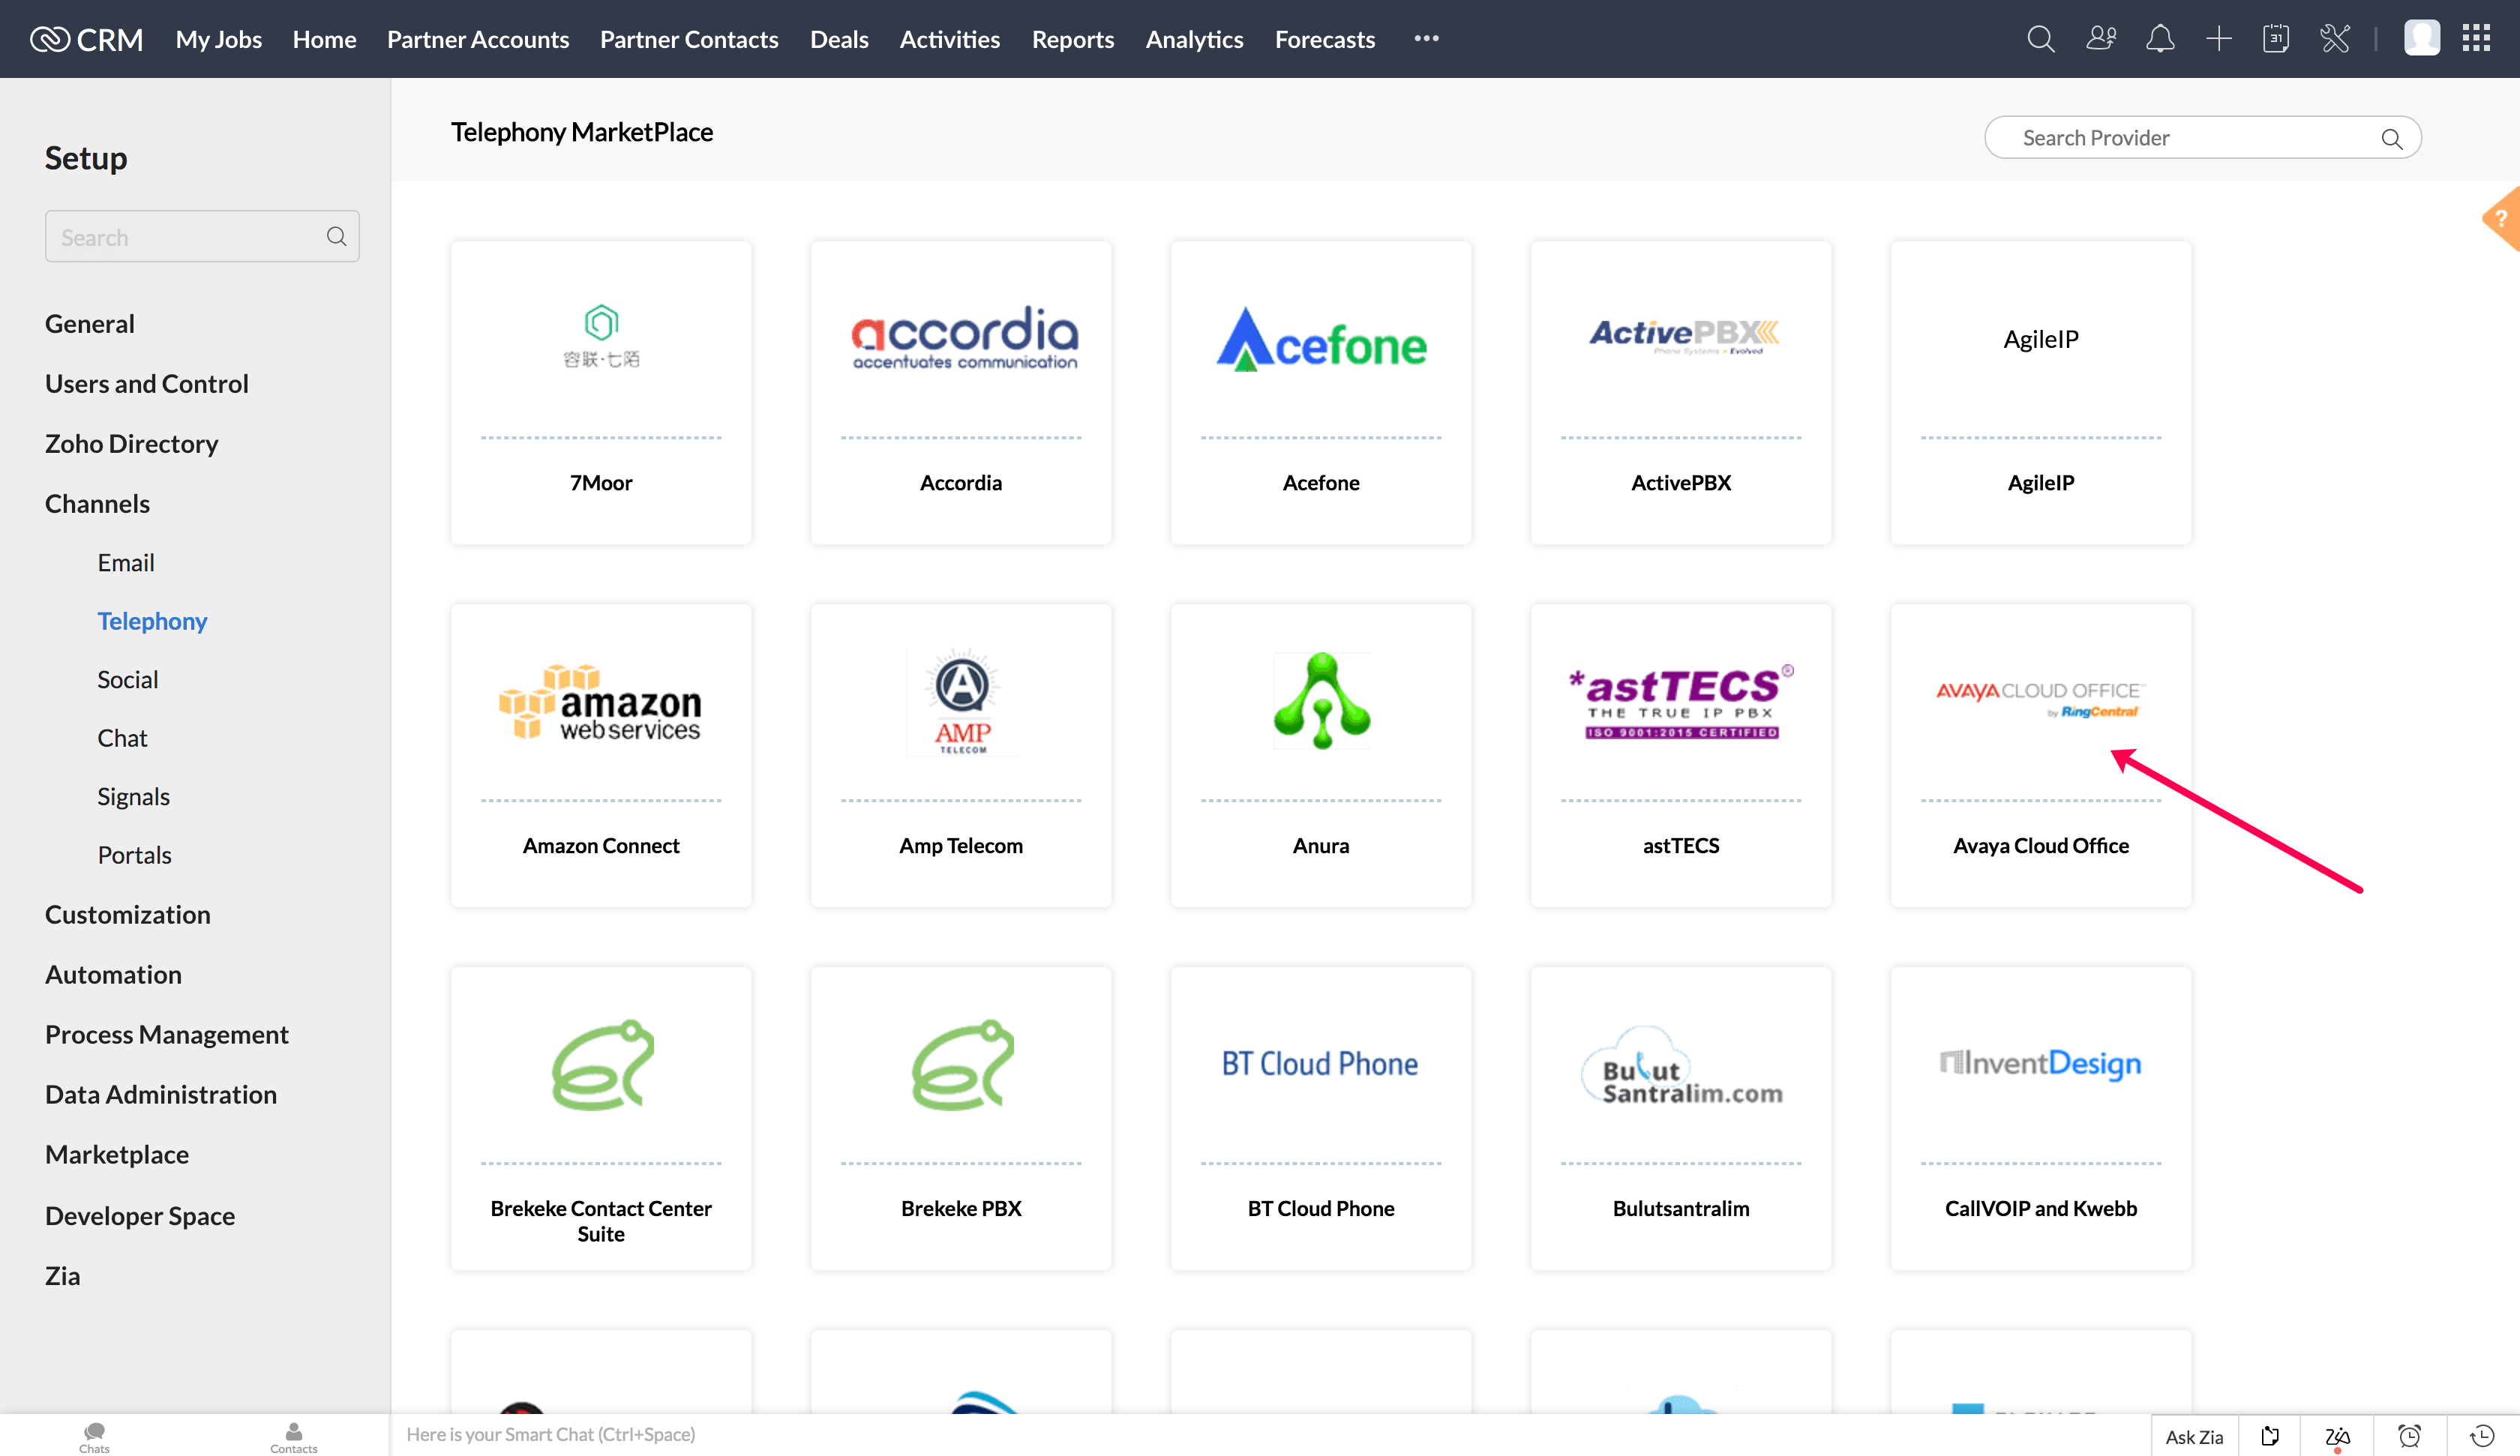
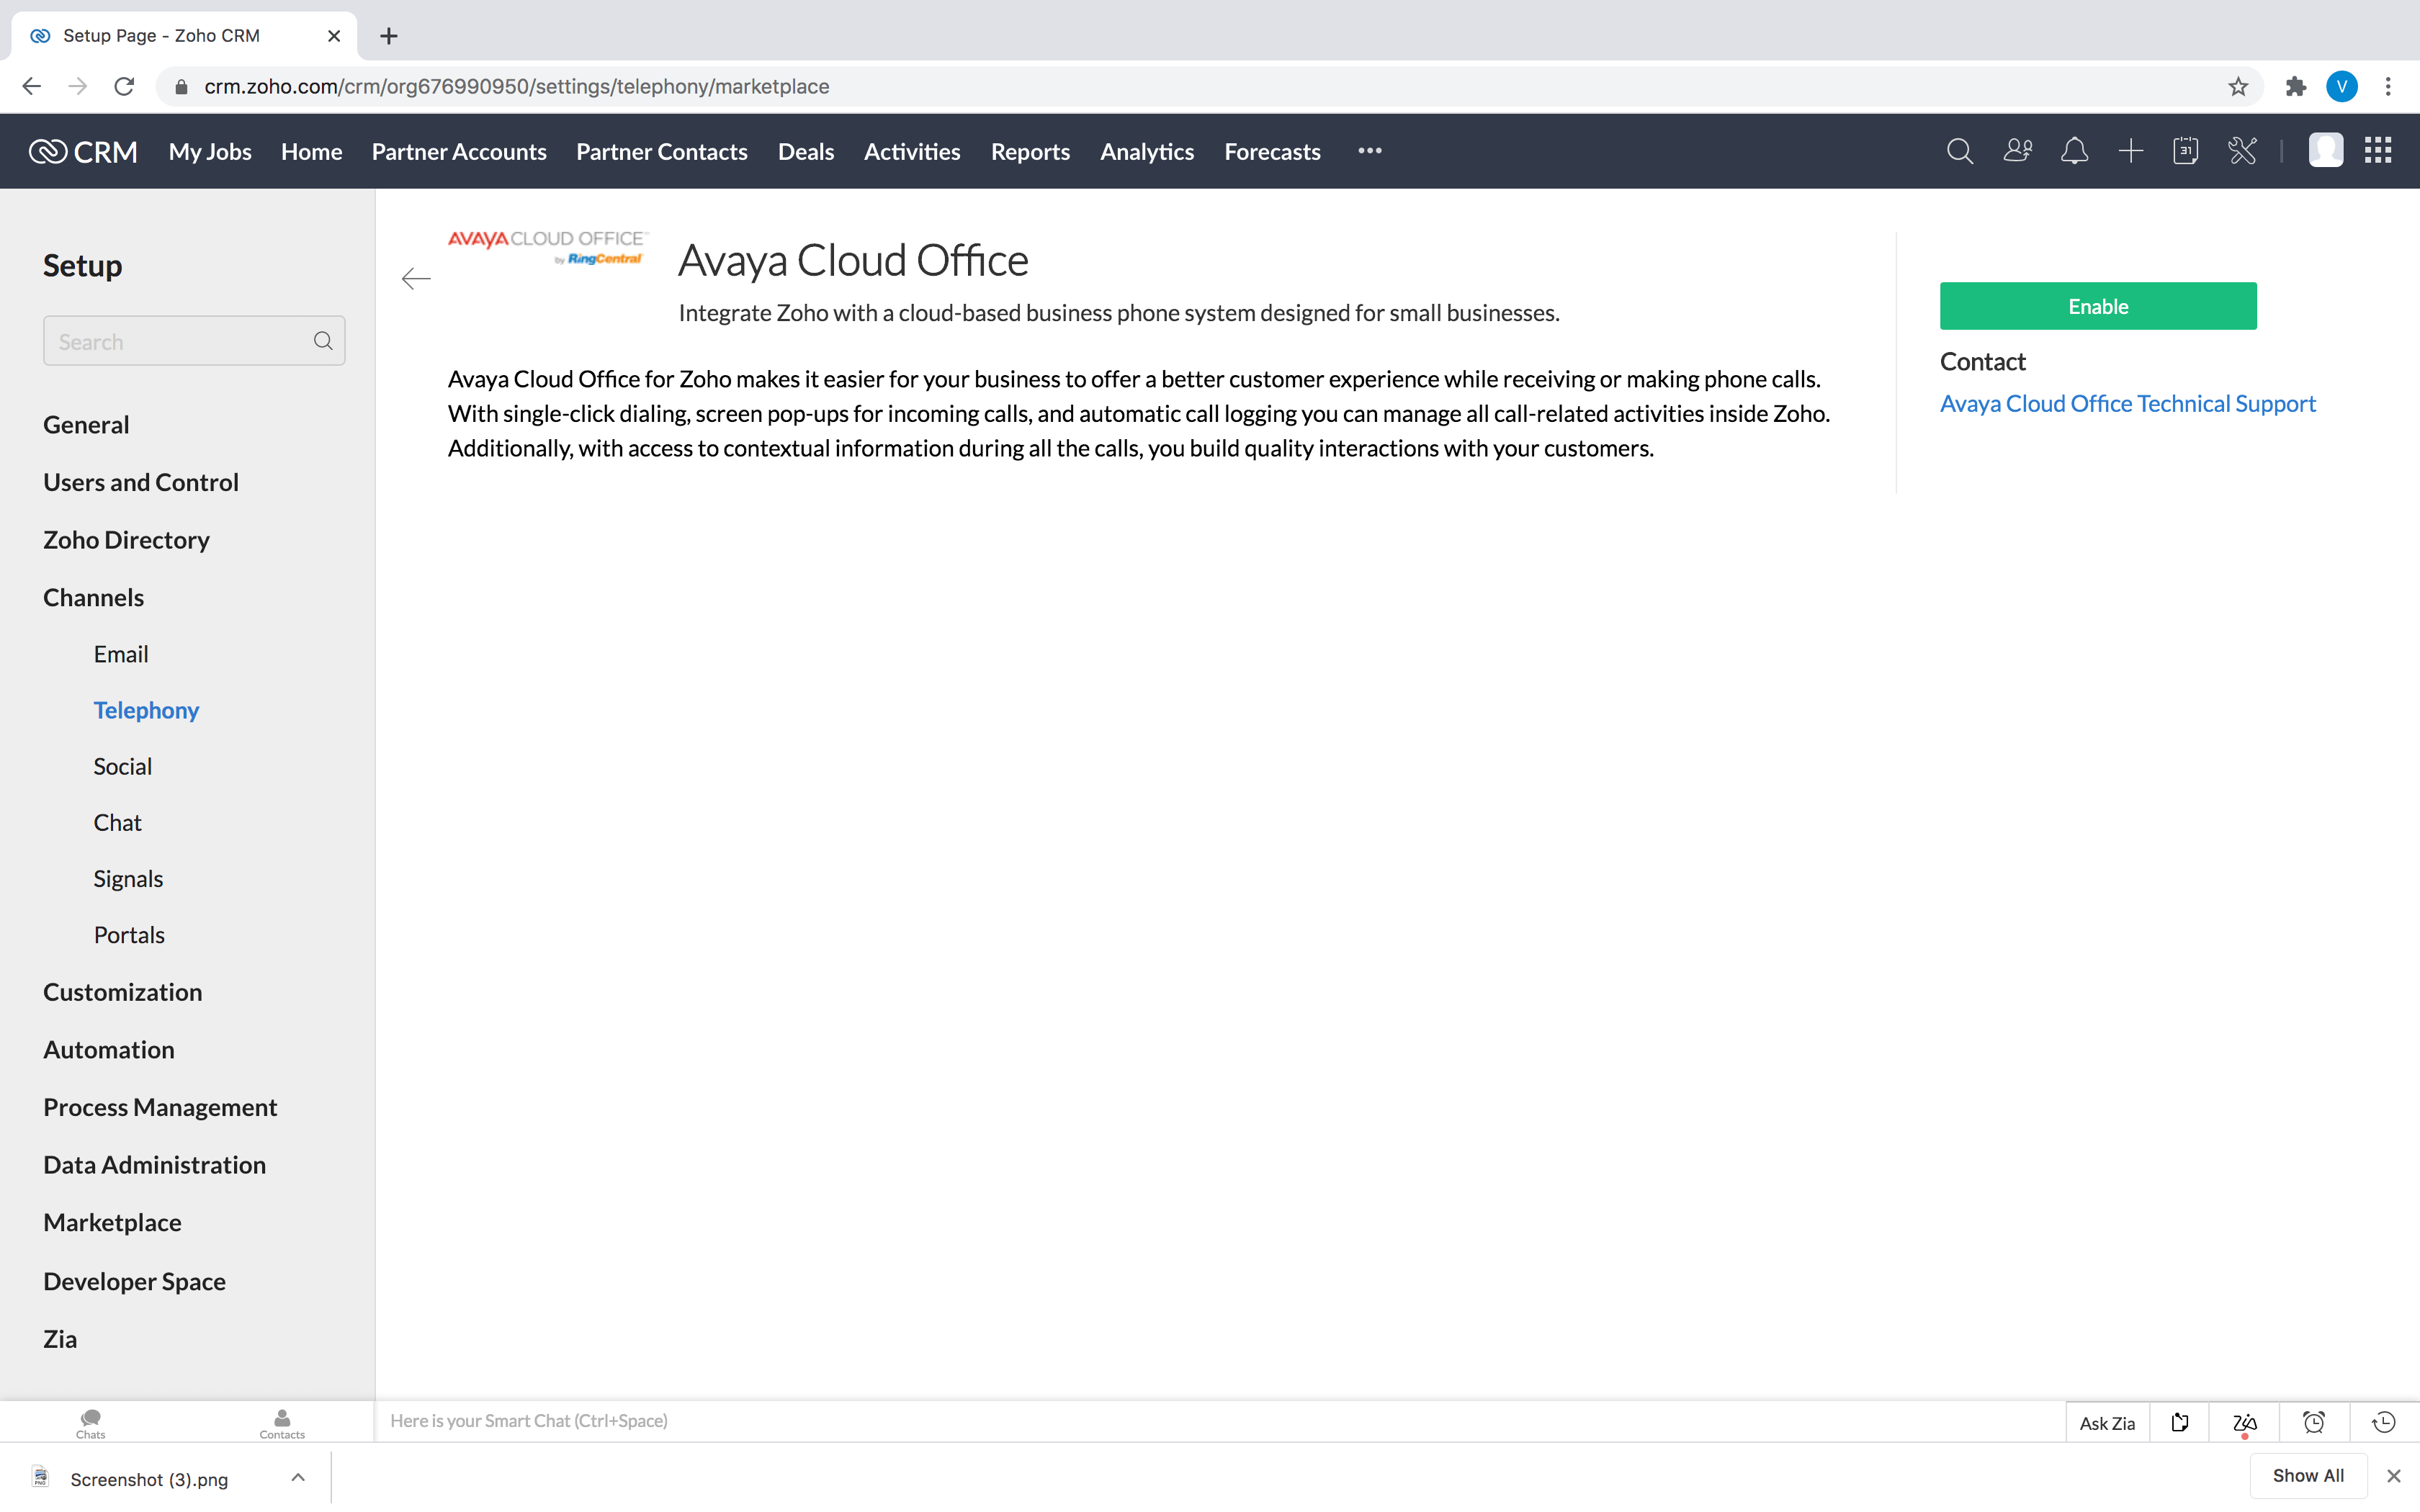
- Click Enable.
Note
- After clicking Enable, please wait while the page refreshes automatically. Do not click anywhere else until the Avaya Cloud Office Login screen appears.
Log in to Avaya Cloud Office
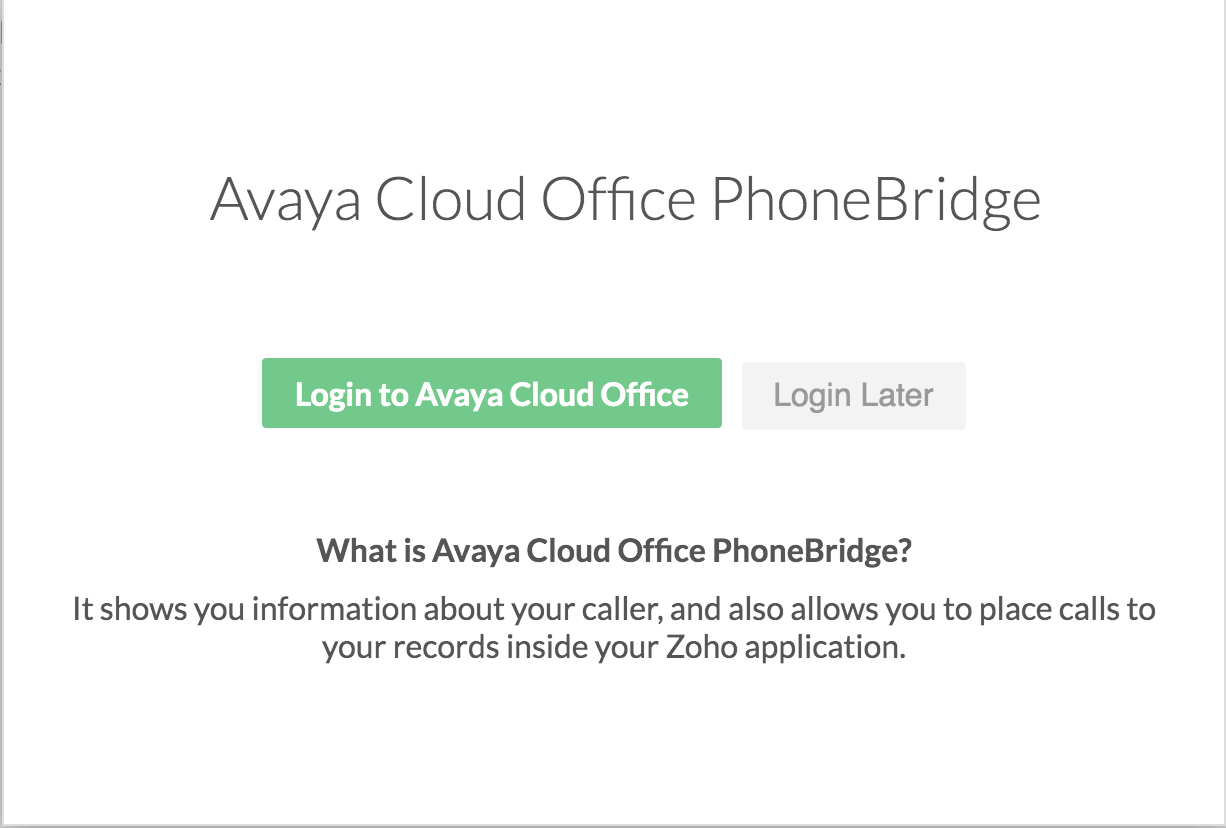
Once you have enabled the Avaya Cloud Office integration, you will be prompted to log in to your Avaya Cloud Office account from Zoho PhoneBridge.
To log in to your Avaya Cloud Office account
- Click Login to Avaya Cloud Office if you wish to log in to your account right away.
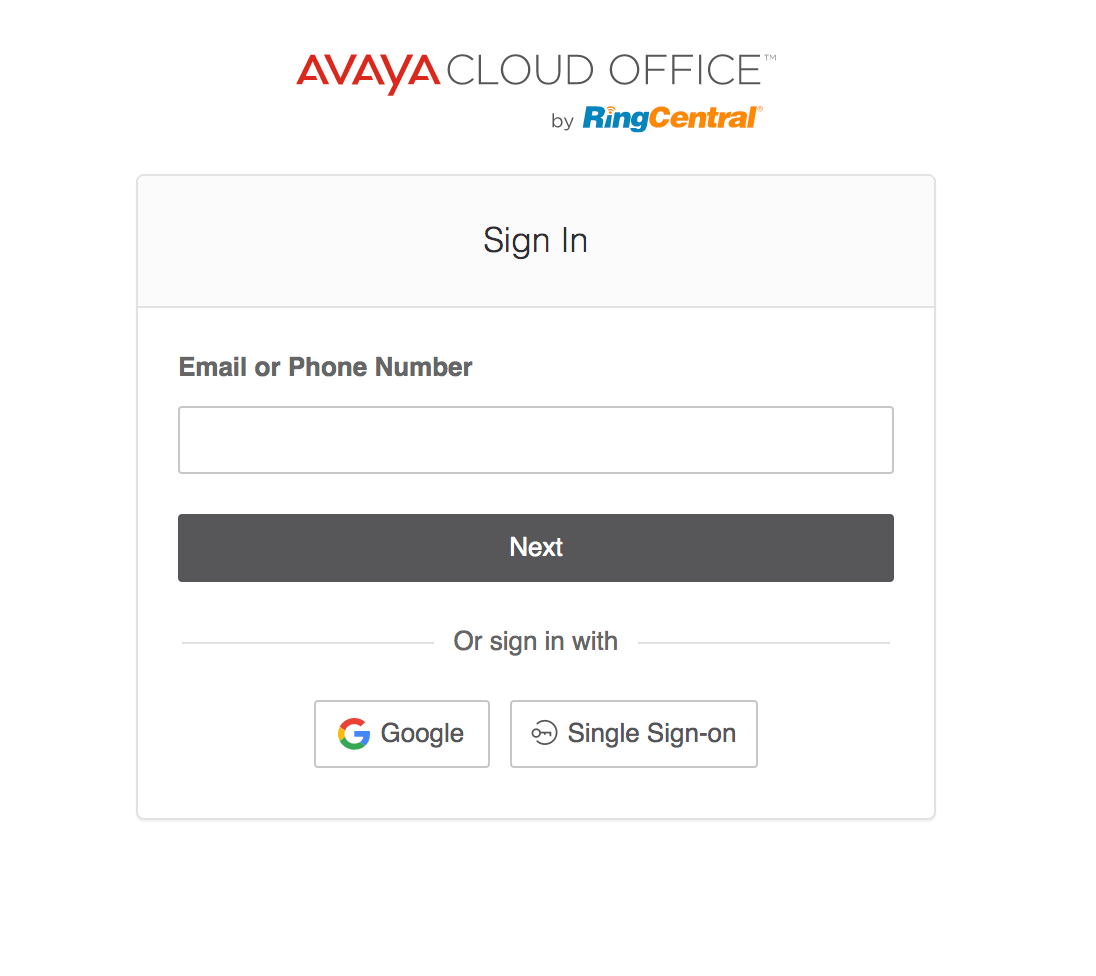
- You will be navigated to Avaya Cloud Office Login page where you need to enter the login details and click Login.
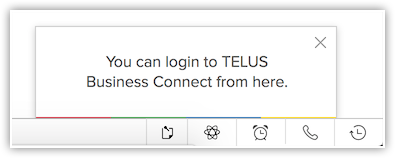
- If you are logging in later, you can use the Phone icon at the bottom right of the page to access the Avaya Cloud Office Login screen.
- Once you login, choose the required phone number from the available list. Please use your direct Avaya Cloud Office number of your organization.
Use Avaya Cloud Office Integration
Once you have enabled Avaya Cloud Office in Zoho PhoneBridge and logged in to your Avaya Cloud Office account in Zoho PhoneBridge as well as the Avaya Cloud Office softphone, you are ready to use this Avaya Cloud Office integration.You can receive incoming calls, initiate outgoing calls and add follow-up activities from Zoho PhoneBridge.
Receive calls
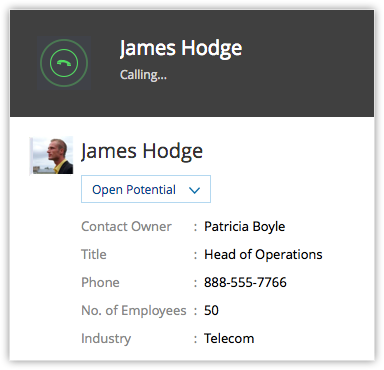
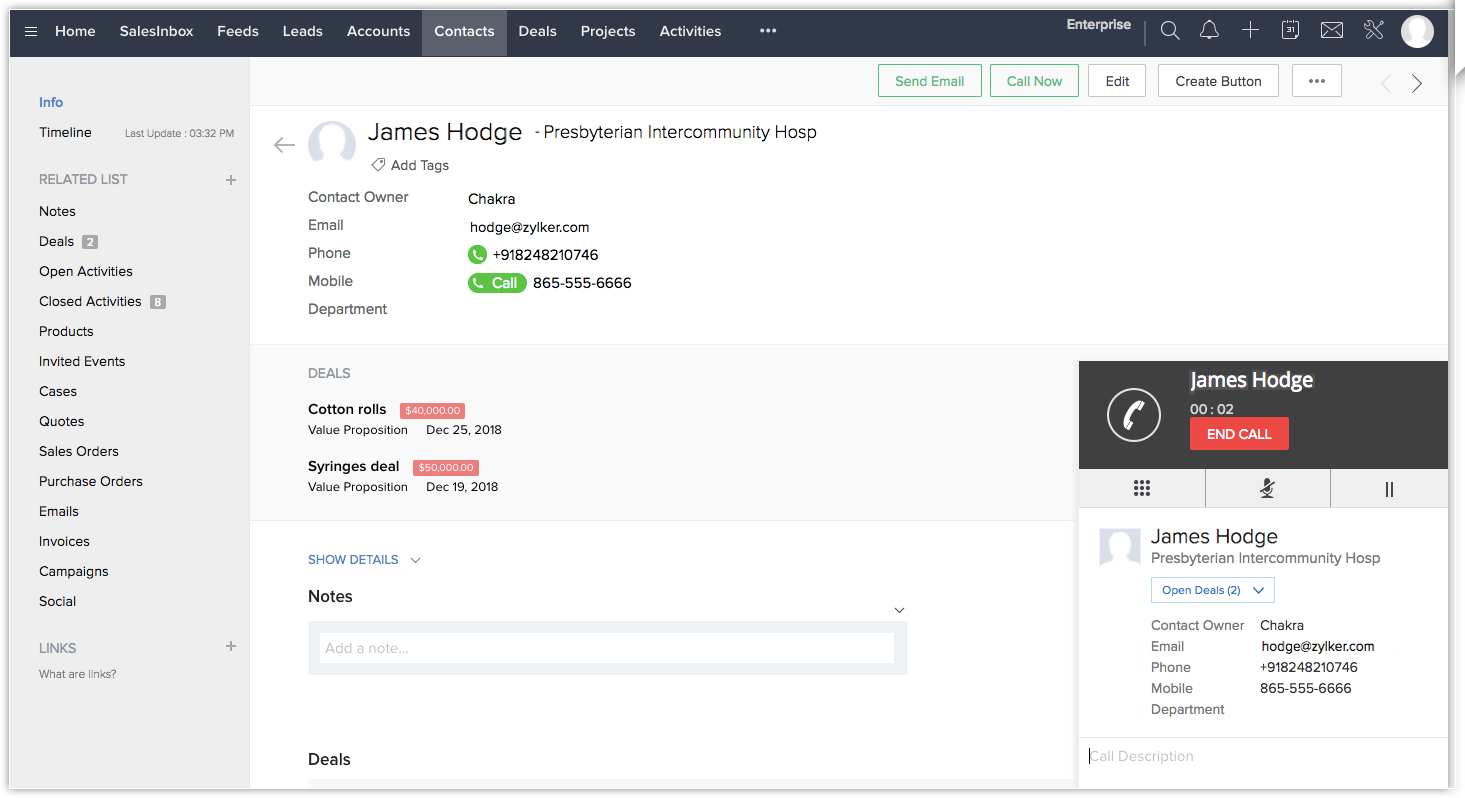
When you receive an incoming call from a CRM contact via Avaya Cloud Office, you can see a Business Card view of the contact.
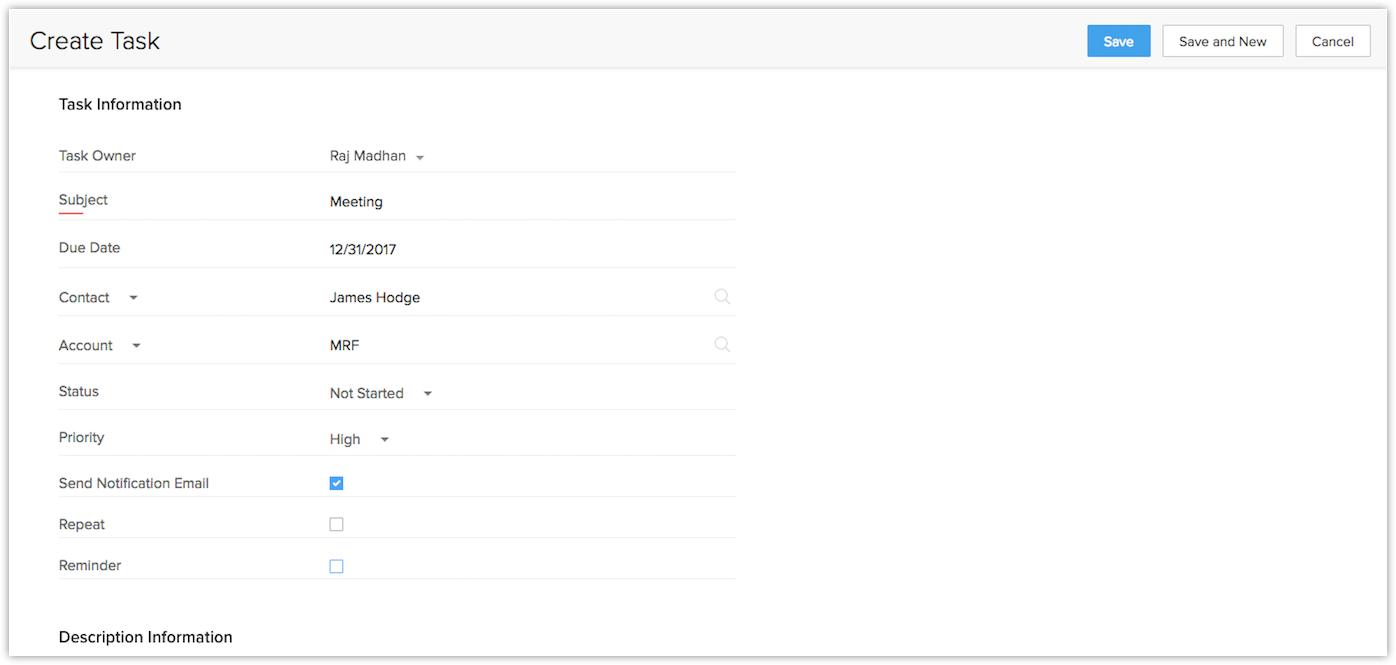
At the end of the call, the follow-up options on the Call Ended window lets you add calls and assign tasks to your contact.

Make Calls
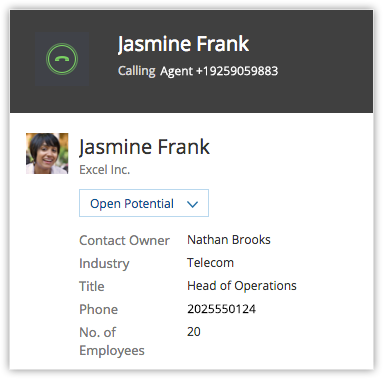
When an outgoing call is initiated to a contact in Zoho PhoneBridge, the call is made via Avaya Cloud Office.
To initiate an outgoing call from Zoho PhoneBridge
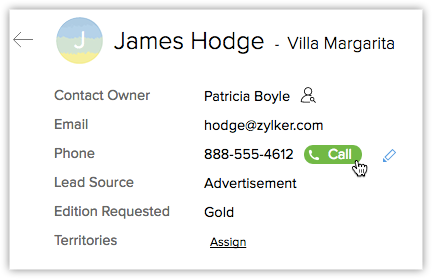
- Click the desired record.
- In the Record's Details page, click the Phone icon beside the phone number.The call via Avaya Cloud Office is now established.
- The follow-up options on the Call Ended window lets you add calls and assign tasks and add a call description.
Follow-up Activity
At the end of every call via Avaya Cloud Office, you can do any or all of the following activities from the Call Ended window in Zoho PhoneBridge. These would automatically be associated to the respective record.
- Add a follow-up call.
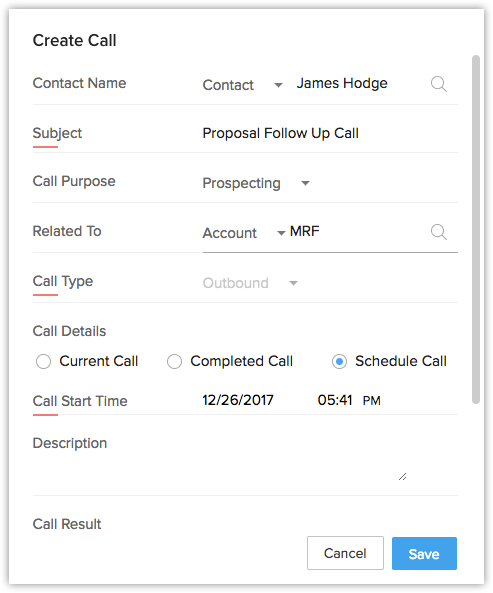
- Add a follow-up task.
View Call Logs and Call Recording
Calls made, received, missed and unanswered in Zoho PhoneBridge via Avaya Cloud Office are automatically logged in the Calls module.
To view call logs
- Click the Calls module.
- Select the All Calls list view.
- Click on any desired record to view the call details.
- Recorded calls are displayed in this section.
Note
- The recorded calls can only be viewed if Avaya Cloud Office integration is enabled and the user is logged in.
- In case the preferred phone number for calling is selected as "{company_number}*{extension}", then the calls module would show two records for each call made from CRM.
Avaya Cloud Office Browser Calling
Browser calling for Avaya Cloud Office allows you to make calls directly from CRM without having to toggle between your CRM account and Avaya Cloud Office. WebRTC plugins are installed to give hassle-free browser calling and a real-time communication will be established with the end user.
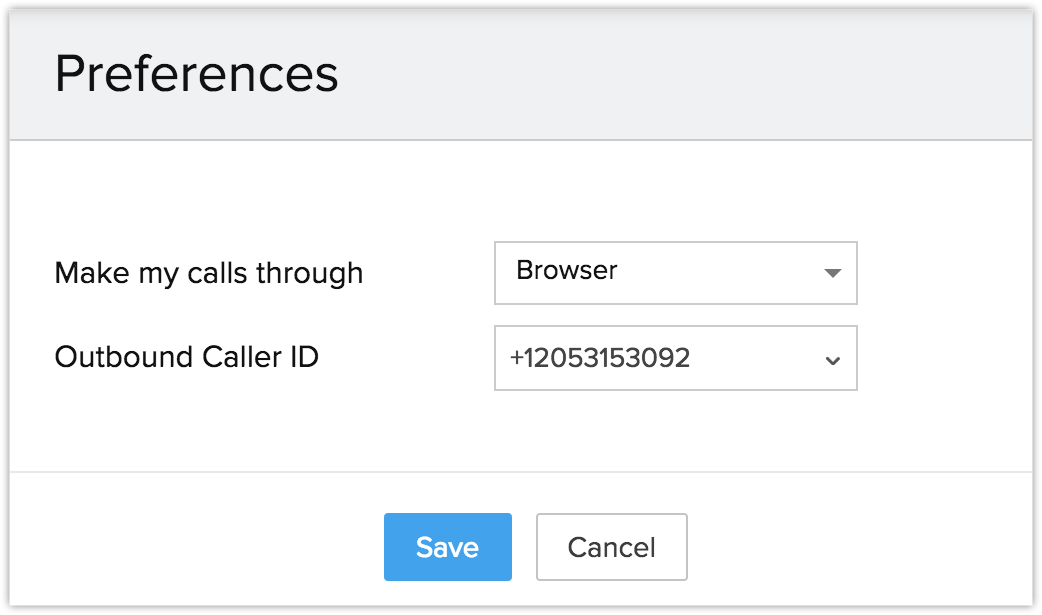
You need to choose the Browser option from the call preferences pop-up to make calls through your browser. You can also save your preferences along with the outbound Caller ID of the recipient, so that you can easily identify your callers to your Avaya Cloud Office numbers while making outbound calls.
You can now make calls directly from your browser without having to use a softphone. This also allows you to directly attend the incoming calls within your CRM.
Note
- Mute, Unmute, Hold, Unhold, and Dialpad functionalities will only be included in the pop up, if you choose the Browser option.
- Please refer to network connectivity functionalities before choosing the Browser option.
- Browser calling will be supported only in chrome 29 and above and firefox 47 and above.
Disable Avaya Cloud Office Integration
The Avaya Cloud Office Integration can be disabled at any time. Only the Administrator of a Zoho PhoneBridge account can disable the integration.
To disable Avaya Cloud Office integration
- Go to Setup > Channels > Telephony.
- Click Disable.
Note
- On disabling the Avaya Cloud Office integration, you will no longer be able to make calls in Zoho PhoneBridge via Avaya Cloud Office.
- Once disabled by the Administrator, the integration is disabled for all users in the Organization account.
- Call details that were entered before the integration was disabled remain intact.
Browser Calling for Avaya Cloud Office
Browser calling for Avaya Cloud Office allows users to make calls directly from your CRM without having to toggle between the CRM account and Avaya Cloud Office software. WebRTC plugins are installed to give hassle-free browser calling and a real-time communication with the end user.
Let’s take a look at the following network connectivity components that are required to be included in the user network.
Firewall Configuration
Firewall includes a Wide-Area Network interface such as a DSL, Ethernet or a cable modem. Firewall configuration allows outgoing TCP and UDP port control to the public Internet from the browser that uses the Avaya Cloud Office client. It also enables the opening of ports so that the client server has time to exchange information with the remote server.
Router
Router provides routing, traffic directing, packet forwarding and also provides support for ping and traceroute ICMP, bandwidth management, packet prioritization and smart packet inspection.
Firewall Access
Firewall access ensures that the outbound and inbound firewall port is opened between the internal user network and the ISP WAN for the applications such as, Call control, RTP media, telephone provisioning and registration, and Auxiliary services. This firewall access allows the call control and media path connectivity.
WebRTC plugins
WebRTC helps realtime multimedia applications to function without any installation of additional extensions, or plugins. It enables Real Time Communication to the end user independent of the browser being used. The following are the ports to be opened before enabling the browser option under Avaya Cloud Office call preferences.
| Traffic Type | Protocols | Source Port Number | Destination Port Number |
| Signaling and (secured) Media (WebRTC) | HTTP/TLS/TCP, STUN/UDP | 5060, 6182, 8080, 8083 | 5060, 6182, 8080, 8083 |
For more information on Avaya Cloud Office network requirements, click here.
Related Articles
BT Cloud Phone
Set up BT Cloud Phone Integration BT Cloud phone is a cloud-based phone system designed for small businesses that want all the features of a system without running one. With the BT Cloud phone, you can take your office out on the road with you. Once ...Office@Hand
Set up Office@Hand Integration Office@Hand is a cloud-based telephony system unlike the regular on-premise systems. Using the Office@Hand integration for Zoho CRM, you can do the following. Get call reminders - You will receive prompt reminders on ...Installing Zoho CRM in MS Office 365
Install the Zoho CRM app for Microsoft Office 365 to seamlessly synchronize data between the two applications. Currently, this integration allows for user import, calendar synchronization and contacts synchronization. Install Zoho CRM app for Office ...What is the impact of multi-org in Office 365 integration?
For every CRM account a folder (folder name: Zoho CRM - Zylker Sales) will be created in Office 365 and these folders will be synced with the respective CRM accounts. Read more about managing multiple CRM account while integrating with other Zoho ...Attaching files from other Cloud Drives
Files can be attached to a record from other cloud drives into the Attachments related list. The list of supported cloud drives are: Google Drive, Box, and OneDrive. Note A file should not exceed 10MB Maximum of 5 files can be attached at a time. To ...