Custom authentication with PingOne
- Go to PingOne.
- In the Select Account dropdown menu, select PingOne.
- Enter your email address, then click SIGN ON.
- Enter your password, then click Sign On.
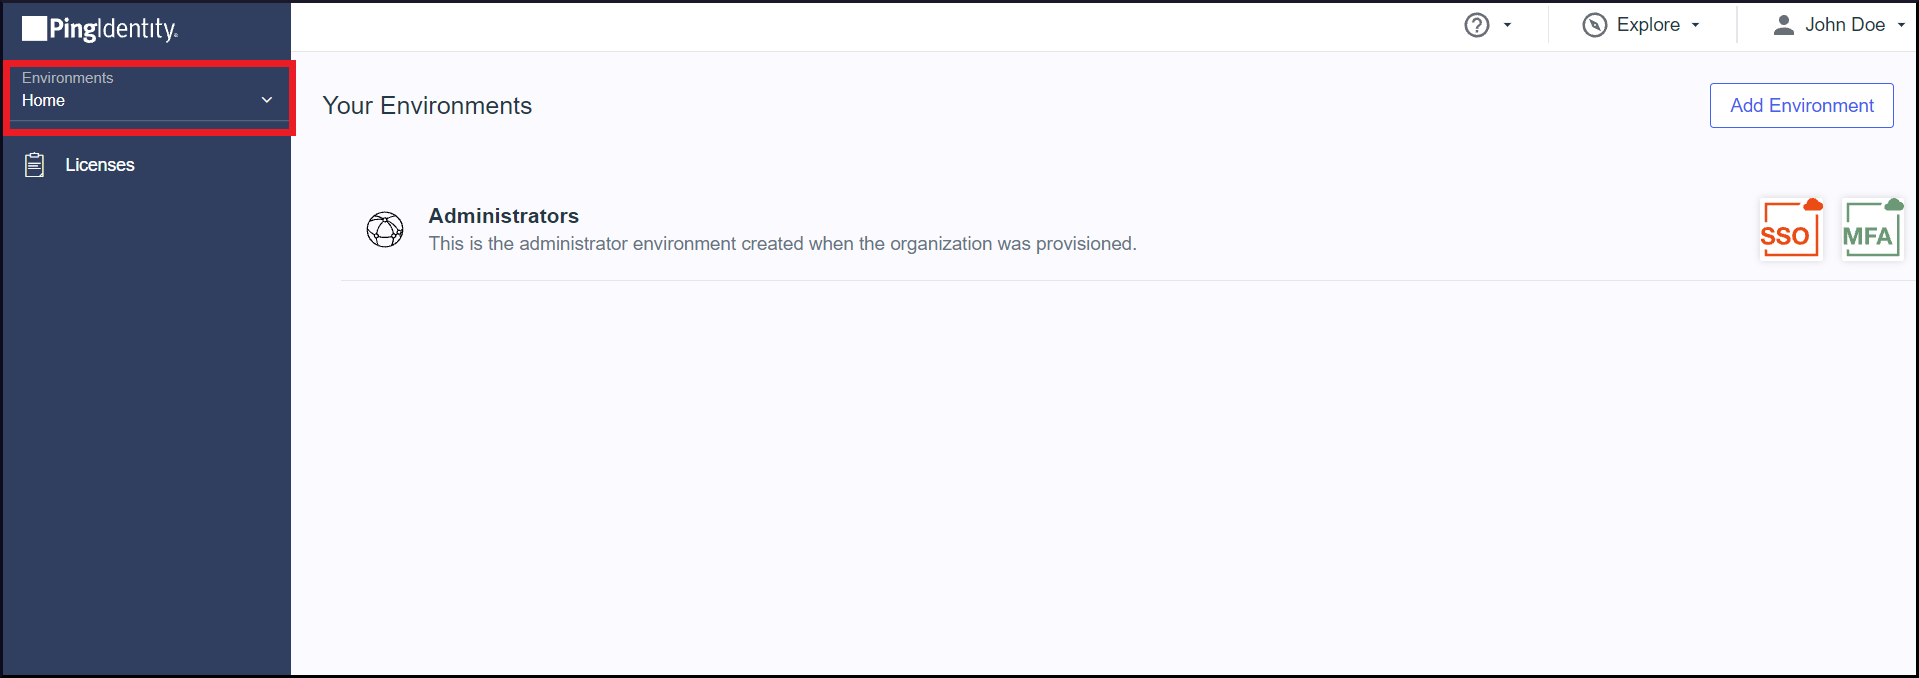
- Click the dropdown menu in the left pane under Environments, then click Administrators.

- Click
 in the left pane, then click
  next to Applications.
- Click ADVANCED CONFIGURATION under SELECT AN APPLICATION TYPE.
- Click Configure next to SAML.
- Enter "Zoho One" in the APPLICATION NAME field.
- Enter a description and upload an icon, if needed.
- Click Next, then select Manually Enter.
- Enter the ACS URL in the ACS URLS field.
- Click Download Signing Certificate under SIGNING KEY.
- Select the X509 PEM (.crt) format to be downloaded.
- Enter the ENTITY ID from the following table based on the Data Center (DC) your Zoho One account is present in.
Data Center | Corresponding Entity ID |
United States (US) | zoho.com |
Europe (EU) | zoho.eu |
India (IN) | zoho.in |
China (CN) | zoho.com.cn |
Australia (AU) | zoho.com.au |
- Select urn:oasis:names:tc:SAML:1.1:nameid-format:emailAddress under SUBJECT NAMEID FORMAT.
- Enter a time duration in seconds (say, 3600) in the ASSERTION VALIDITY DURATION (SECONDS) field.

Note: Assertion Validity Duration is how long a SAML assertion is valid for before it expires.
- Click Save and Continue.
- Select Email Address under PINGONE USER ATTRIBUTE.
- Click Save and Close. You will be redirected to the Applications page.
- Click the Configuration tab.
- Copy the SINGLE LOGOUT SERVICE URL and the SINGLE SIGNON SERVICE URL, then use the information to set up SAML in Zoho One.
- Paste the SINGLE SIGNON SERVICE URL in the Sign-in URL field.
- Paste the SINGLE LOGOUT SERVICE URL in the Sign-out URL field.
- Browse and upload the X509 PEM (.crt) in the Verification Certificate field.
- Go back to the Applications page in PingOne and slide the toggle bar next to Zoho One to enable user access.
Test the SAML connection
- Go to Zoho One.
- Enter your email address, then click NEXT.
- Click Sign in another way.
- Click Sign in with SAML. You will be redirected to sign in through PingOne.
Related Articles
Custom authentication with miniOrange
Configure SAML with miniOrange Sign in to the miniOrange admin console. Click Apps in the left menu, then click Add Application. Click Create App under SAML/WS-FED. Select Zoho from the apps displayed. You will land in the Basic Settings page. Type ...
Custom authentication with OneLogin
Custom authentication with OneLogin enables SAML-based single sign-on (SSO) from OneLogin to Zoho One. With SSO, you and your employees can sign in to OneLogin and access Zoho One directly, without having to sign in to Zoho One. To set up custom ...
Custom authentication with Google
Custom authentication with Google enables SAML-based single sign-on (SSO) from Google to Zoho One. With SSO, you and your employees can sign in to Google and access Zoho One directly, without having to sign in to Zoho One. To set up custom ...
Custom authentication with JumpCloud
Custom authentication with JumpCloud enables SAML-based single sign-on (SSO) from JumpCloud to Zoho One. With SSO, you and your employees can sign in to JumpCloud and access Zoho One directly, without having to sign in to Zoho One. To set up custom ...
Custom authentication with Auth0
Custom authentication with Auth0 enables SAML-based single sign-on (SSO) from Auth0 to Zoho One. With SSO, you and your employees can sign in to Auth0 and access Zoho One directly, without having to sign in to Zoho One. To set up custom ...
in the left pane, then click
next to Applications.
 Note: You can find the ACS URL in Zoho One's Custom Authentication page.
 Note: Assertion Validity Duration is how long a SAML assertion is valid for before it expires.