Configure Chat window
Setup your brand
- If you wish to change your brand's name, you can do so by navigating to Settings > Brands > Your Brand > Configurations, Under Name your Brand, replace the text inside the input field.
- Click Save on the pop up at the top to save the changes made.
Change your brand's description:
- To change your brand's description, go to Settings > Brands > Your Brand > Configurations. Under Describe your brand, replace the text inside the input field.
- Click Save on the pop up at the top to save the changes made.
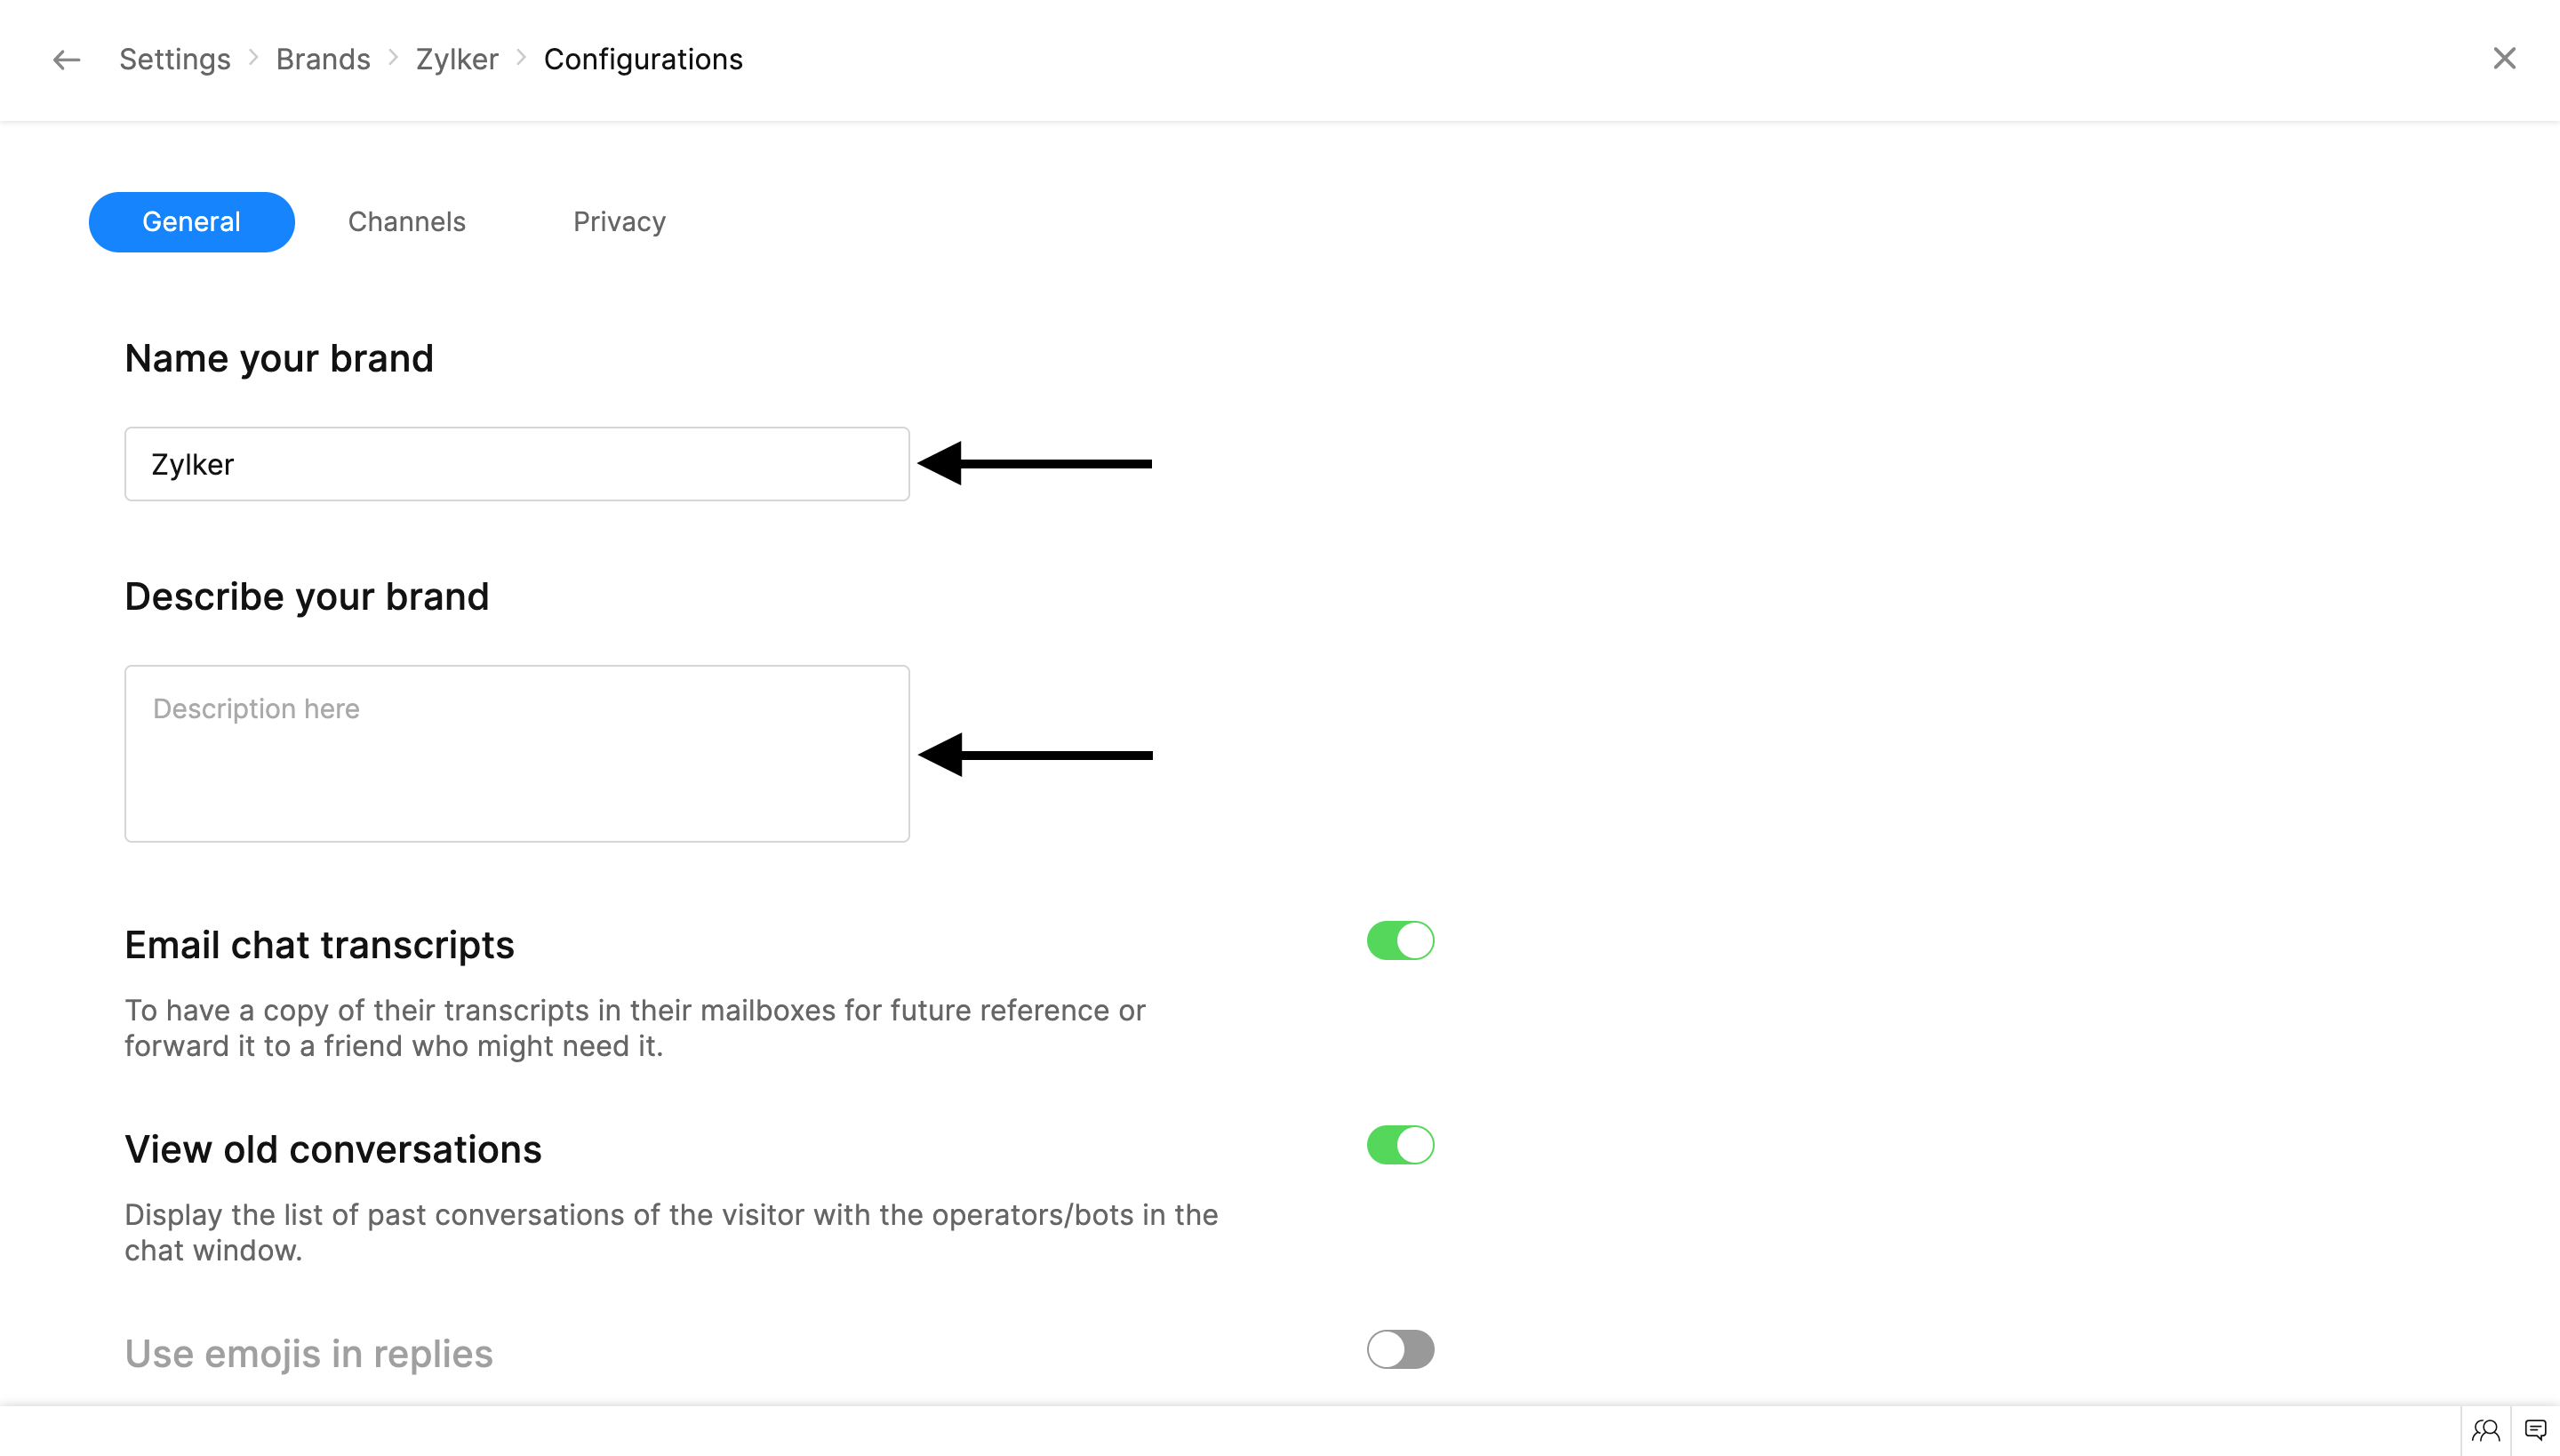 Email chat transcripts
You can enable the email option for the visitors in the chat window to send the required conversations to their inbox immediately.
- In Settings > Brands > Your Brand > Configurations, Scroll down to the Email chat transcripts option. Toggle the switch to enable the Share screens option.
- Click Save on the pop up at the top to save the changes made.
View old conversations
The visitors can view their past chat conversations for future reference and catch up on conversations they would have missed out.
- In Settings > Brands > Your Brand > Configurations, Scroll down to the View old conversations option. Toggle the switch to enable the Share screens option.
- Click Save on the pop up at the top to save the changes made.
- Now, the visitor can view the option in the Chat Window.
Enable emoji in replies
- In Settings > Brands > Your Brand > Configurations, Scroll down to the Use emojis in replies option. Toggle the switch to enable the Share screens option.
- Click Save on the pop up at the top to save the changes made.
Enable file sharing
You can enable the attachment option in the chat window with which the visitors can share the images, word document, PDF, audio, and video files with the operators during the conversation.
- In Settings > Brands > Your Brand > Configurations, Scroll down to the Share Files option. Toggle the switch to enable the Share screens option.
- Click Save on the pop up at the top to save the changes made.
Enable screen sharing
Enabling the Screen Sharing option will allow your visitors to project their screens during a conversation. This option can be used to get hands-on experience on the visitor's issues and assist them with ease.
- In Settings > Brands > Your Brand > Configurations, Scroll down to the Share screens option. Toggle the switch to enable the Share screens option.
- Click Save on the pop up at the top to save the changes made.
Record calls and screen share sessions
You can enable the call and screen share session recording option in the chat window to record all the calls and screen share session for future reference and analysis.
- In Settings > Brands > Your Brand > Configurations, Scroll down to the Select your desired recording preference section. Now, select your preference.
- Only audio call - Only the audio calls of the brand will be recorded.
- Audio call and screen share - Both the audio calls and the screen share session of the brand will be recorded
- Don't record - Neither audio calls nor screen share sessions will be recorded.
- Click Save on the pop up at the top to save the changes made.
Call and Screen share consent
Send Voice notes
You can enable the voice notes option in the chat window with which the visitors can share the a voice message with your operator during the conversation.
- In Settings > Brands > Your Brand > Configurations, Scroll down to the Voice notes option. Toggle the switch to enable the option.
- Click Save on the pop up at the top to save the changes made.
Privacy settings
As we understand that each website's preferences are different, you can make choices on your GDPR settings as well. You can enable/disable GDPR for the website as per your requirement.
To enable GDPR on a particular website:
- In Settings > Brands > Your Brand > Configurations, click Privacy on the top to switch to the Privacy tab.to switch to
- In Display GDPR consent banner on your website, Toggle the switch to enable the GDPR settings.
Cookie notification
You can notify the visitor when they visit your website that the site will use the cookies for future reference. This notification will be indicated on the website pages, and you can also link your privacy policy document to the message for a clear picture and make your customer aware of the cookie storage.
- Do not notify - You can check this option if you do not wish to inform the visitor about the cookies.
- Notify visitors - Check this option if you want to notify the visitor on your website about the cookies.
- Notify visitors and provide them with an option to opt-out if required - Check this option if you wish to notify the visitor and offer an opt-out option from storing the cookies on your website.
Google translation notification
You can notify visitors about the use of Google translate when conversing with a visitor in a foreign language. This can help the visitors understand if you make any mistakes or didn't respond correctly.
- Do not notify - You can check this option if you do not wish to inform the visitor about the translation.
- Notify visitors - Check this option if you want to notify the visitor on your website about the translation.
- Notify visitors and provide them with an option to opt-out if required - Check this option if you wish to notify the visitor about the use of Google translator and offer an opt-out option.
Notify the terms and conditions
You can also get the visitor's consent before they initiate a chat. You should attach your privacy policy document and get the permission if you wish to use any of the visitor info that you get in the chat window, elsewhere.
- Do not notify - You can check this option if you do not wish to inform the visitor about the policy.
- Notify visitors - Check this option if you want to notify the visitor on your website about the policy.
- Notify visitors and provide them with an option to opt-out if required - Check this option if you wish to notify the visitor and offer an opt-out option from storing the data on your portal.
Tracking DNT enabled visitors
DNT or Do Not Track is a browser setting that will let visitors send a message to websites, web-apps, and other third-party advertising networks requesting not to track their personal information as they browse through various sites. SalesIQ lets you track visitor data irrespective of visitor’s DNT requests. You can avail this by enabling the Track DNT enabled visitors option.
Channels
Related Articles
Live chat software for Happyfox
Integrate happyfox with Zoho SalesIQ and enhance your customer service. You can set up your predefined smart rules in Happyfox for the chat transcript sent from Zoho SalesIQ on Chats and Missed chats. All the attended chat transcript will be ...Live chat software for Teamsupport
You can set up your predefined smart rules in Teamsupport for the chat transcript sent from Zoho SalesIQ on Chats and Missed chats. All attended chat transcript will be addressed with the subject line “Chats :” followed by the visitor question. All ...Set Chat Window Flow
Getting contact information from the visitor in chat and managing them is a challenging task. When the data is lost, it is a tedious process to view the entire chat to get that single piece of information you're looking for in the conversation. Setup ...Customize live chat widget and window
You can now customize the live chat widget and the chat window to match your website's look-and-feel, choose where and how you want them to be displayed to your customers, and can connect with them seamlessly. Float Widget The float live chat widget ...Live Chat integration with Hubspot
Get your live chat events organised into your hubspot dashboard. Once you have pasted the Zoho SalesIQ script into your webpages, the script will automatically detect the Hubspot code available in your website. If everything is in place, Zoho ...